Howdy partners! This blog post is a little different from my other recent ones, I'm going to show you how to make some lovely little paper boxes out of old greetings cards! Come closer dear student and I'll show you the way.
These are the sort of things you'll need (look below) - A square greetings card (OR one cut to square shape!), some scissors - and, if you want to be a lot more precise than I've been a ruler and pencil can come in handy. Coloured scarf surface optional.
Step 1!
Snip snip snip the cards in half, put the back pieces to one side for now, they can have a little snooze in the sun while we pay attention to the front pieces.
Step 2!
Fold each of the front pieces in half diagonally. Looks like a tasty card sandwich now.
Step 3!
Open the pieces back out and repeat step two the other way so that you end up with a cross shaped fold in the middle of each piece.
Step 4!
Now, look at that supercool folded line that's now down the middle of the card - well, the parallel corners really like hanging out with that line - so fold them inwards to touch it.
Step 5!
Fold the sides of the card inwards so that the outer parallel edges touches the middle fold line too.
Unfold! Unfold! Unfold!
Step 6!
Turn the card around and repeat the previous steps with the unfolded sides going in to touch the other middle line.
Step 7!
Remember this? Yeah of course you do, you're great. Fold the outer edges in to snuggle next to the middle fold line.
Unfold! Unfold! Unfold!
You should have a grid-like pattern of creases now - yeah? Cool.
Okay time for a cup of tea or some other delicious beverage.
Step 8!
Right, have a look at that grid pattern - can you make out the smallest square shape?
Well grab yo' scissors and cut vertically along folded lines to each corner of that square - four cuts. (if it's easier use your pencil and ruler to draw out the lines and square shape :-) )
Step 9!
Fold along the outer crease on both of the triangle sections and meet the corners at the middle fold line (similar to a step before, but now you have the cut parts)
Step 10!
Fold up the two sides to make 'walls' (the soon to be sides of your box top!)
Step 11!
Bend in the side tabs that have been created (don't worry if they don't stay in place very well!)
Step 12!
Grab the wings of the box and fold them up and over the tabs - pushing the triangle parts in to form the bottom and inside wall of the box.
Waheey! You have one damn fine lookin' box lid right there. Give yourself some pats on the backs.
Step 13!
Grab your snoozing card backs and repeat all the steps up until now. It helps to make the folds a little bit tighter than the lid to make sure it fits together well.
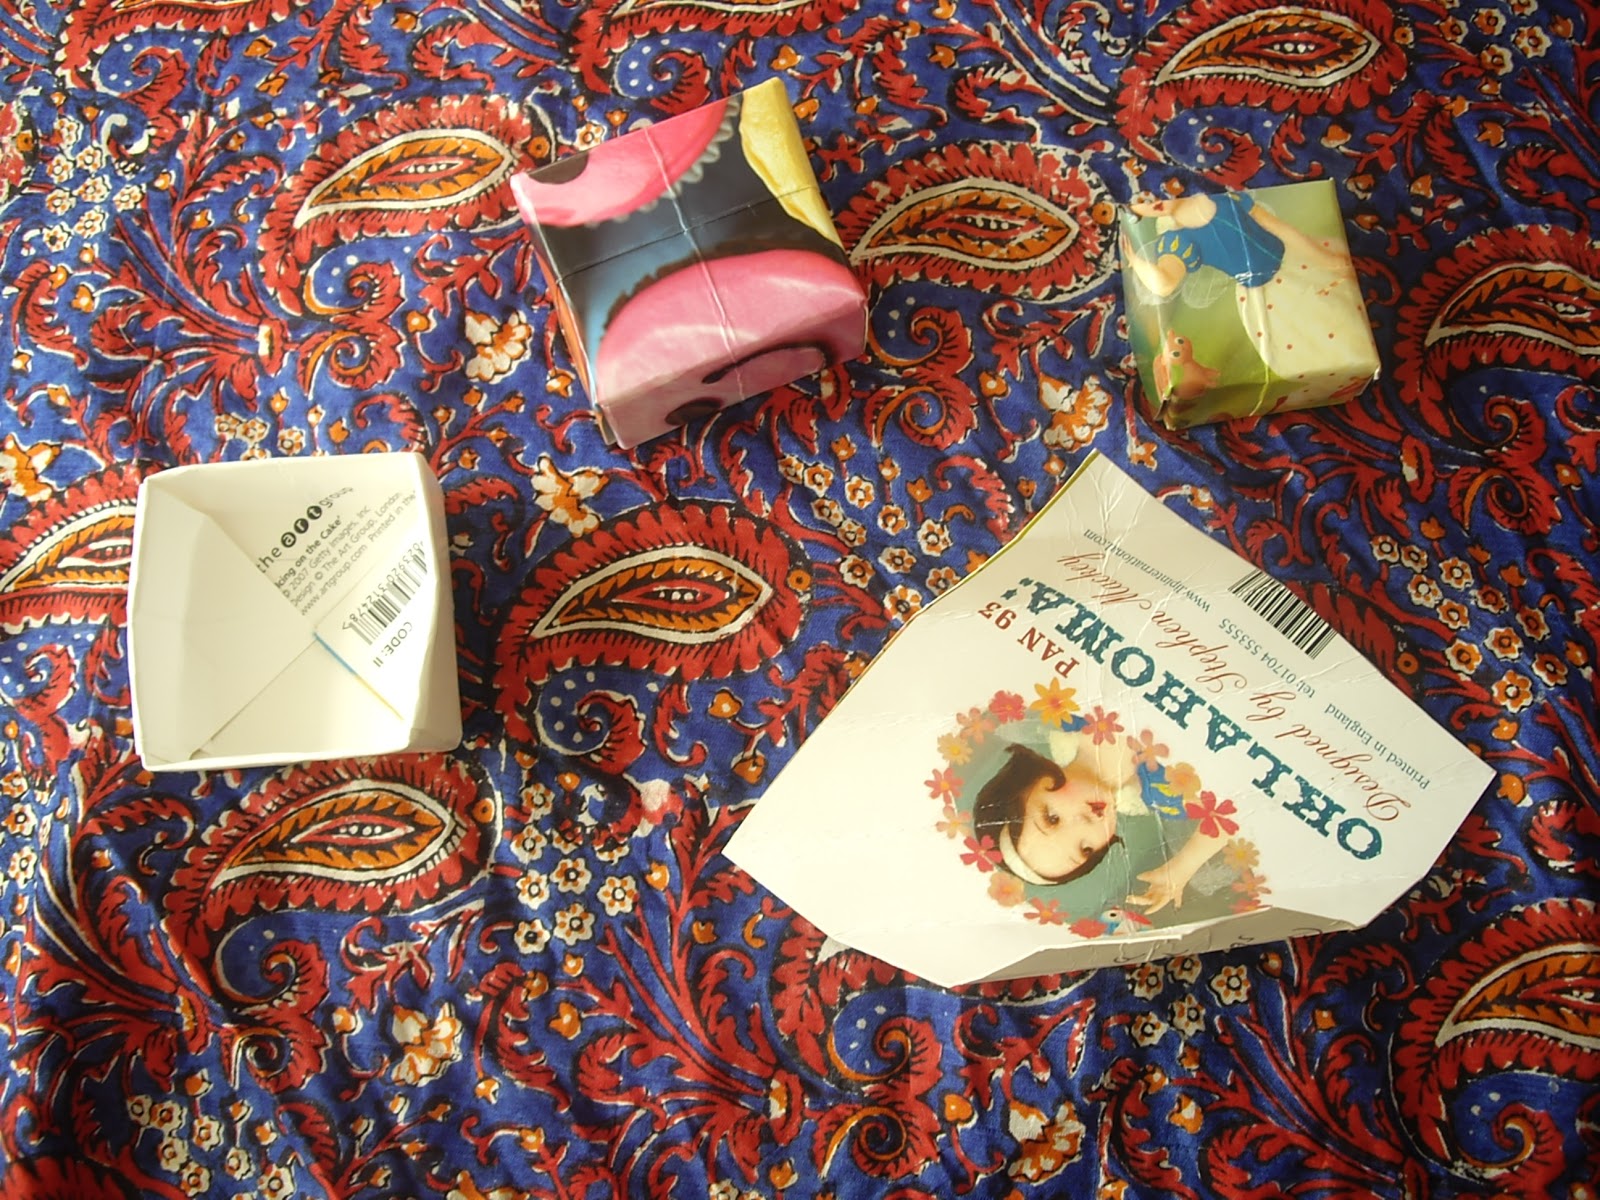
HEY EVERYONE! LOOK! LOOK WHAT AMAZING BOXES THIS GUY'S JUST MADE!
That's what they're all shouting! They love you! You truly are the king of paper boxes - well done, well done indeed. You have learnt well young grasshopper, go now and make paper boxes - for it is your destiny.
Tip: Obviously the bigger the card you use, the bigger the box. If you have some huge sheets of card around you can try using that to make a hat box, cake box, or mouse house. Using average sized greetings cards make a box around 5cm square - a good size to hold your trinkets or a nice bed for your tiny porcelain cat.
Emmeline Pidgen - Over and out.